Cleaning grout is nobody’s favorite chore , but it doesn’t have to involve scraping, scrubbing, or exhausting effort. With the right natural ingredients and a smart process, you can lift dirt, stains, and buildup from grout without scrubbing at all.
Why do shower tiles get dirty even though they’re constantly exposed to water?The fastest method is to sweep the floor, apply a homemade cleaner (baking soda with hydrogen peroxide or baking soda with vinegar), let it sit, wipe it away, and then seal the grout. This lifts dirt without the need for heavy scrubbing.

This guide walks you through the simplest method plus effective alternatives if your grout is heavily stained.
Key Takeaways
Grout often looks dirtier than it is because its porous surface traps residue.
Even small amounts of soap scum, mineral deposits, or everyday grime settle deep into grout lines, making them darken over time without any actual damage to the tile.
Many natural household ingredients create powerful cleaning reactions.
Simple combinations like baking soda with peroxide or baking soda with vinegar loosen buildup through chemical action, reducing the need for scrubbing.
Letting a cleaner sit is more effective than force.
When given time, reactive mixtures break down residue at the surface and below it, making grout much easier to wipe clean afterward.
Heavy staining doesn’t always require harsh chemicals.
Tools like steam cleaners, soft brushes, and mild alkaline solutions can lift older or deeper discoloration without damaging tile or grout.
Protective sealing extends the life and appearance of grout.
A good sealer blocks moisture, prevents stains from setting, and keeps grout maintenance simple, reducing how often deep cleaning is needed.
The Easiest Way to Clean Grout Without Scrubbing
This method works best when followed in order, so start by preparing the area and then move through each step carefully.
Step 1: Sweep the Floor
Start with your usual floor-cleaning routine. Use a soft-bristle broom or a vacuum to lift dust, hair, and loose debris. This prevents grit from getting trapped in the cleaner and ensures better results.
Step 2: Make a Cleaner
You can make an effective grout cleaner using common household products. Choose one of the options below.
Hydrogen Peroxide + Baking Soda
To make a powerful grout-cleaning paste:
- Get a small bowl.
- Add 1 cup baking soda.
- Add a few tablespoons of hydrogen peroxide.
- Add a little water and a few drops of lemon juice (optional).
- Stir until it forms a thick paste.
This mixture is highly effective for tough, stained grout.
Vinegar + Baking Soda Spray
To make a spray-on grout cleaner:
- Add 1 cup hot water.
- Add ½ cup baking soda.
- Add lemon juice (optional).
- Add 2 cups white vinegar.
- Shake well.
This cleaner is less intense but can be used more liberally.
Step 3: Apply the Cleaner
- For paste: Use a spatula or gloved fingers to spread it directly onto grout lines.
- For spray: Generously mist the grout until well-saturated.
💡 Safety note: Wear gloves, work in a ventilated area, and keep kids and pets away.
Step 4: Sit and Wait
Let the cleaner work so you don’t have to.
- Hydrogen peroxide paste: ~15 minutes
- Vinegar solution: ~30 minutes
The bubbling you may see is normal, it’s the solution breaking down dirt, scum, and mildew.
Step 5: Wipe It Away
Use a damp microfiber cloth to remove the cleaner and lifted dirt.
Then mop with warm soapy water (dish soap works fine) to remove any residue.
Step 6: Seal the Cleaned Grout
A sealer keeps grout looking new and helps prevent future staining.
Two types to choose from:
- Penetrating sealers: Best for natural stone; soak into grout and provide a matte, non-slippery finish.
- Topical sealers: Sit on the surface; typically used on concrete or pavers.
For tile floors, a penetrating sealer is usually the ideal choice.
If Stains Persist
Stubborn grout stains sometimes need something stronger. These methods work, but use them sparingly and carefully.
Option 1: Oxygen Bleach (Use With Caution)
Oxygen bleach (not to be confused with chlorine bleach) is powerful for deep stains but can be harsh.
How to use it:
- Apply the undiluted product to grout.
- Let sit for 10–15 minutes.
- Ventilate the room well.
- Wipe with a damp cloth.
- Mop with warm, soapy water to remove residue.
Avoid using this frequently, and always check compatibility with your tile type.
Option 2: Alkaline Cleaners
Commercial alkaline cleaners are designed for mold, mildew, and severe discoloration.
Follow all manufacturer instructions carefully — contact time, dilution, and ventilation vary by product.
Option 3: Mild Brushing
For situations where a little agitation is needed, use:
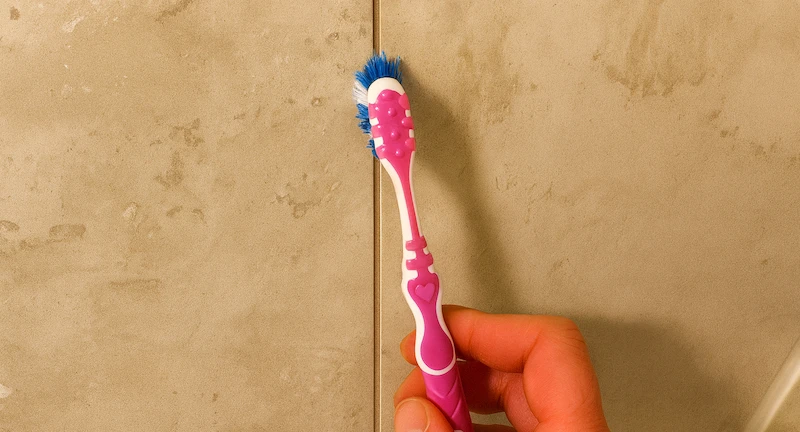
- A soft toothbrush
- A soft-bristle brush
- A paintbrush
Paired with your homemade cleaner or mild dish soap, this removes stubborn dirt without damaging tile.
Option 4: Steam Cleaning
Steam cleaners remove grout buildup using high heat and no chemicals.
- Fill the steamer with water.
- Attach a grout brush or narrow nozzle.
- Move slowly back and forth over grout lines.
- Wipe away loosened grime regularly to avoid spreading it.
If buying a machine doesn’t appeal, many hardware stores rent steam cleaners, or you can hire a professional.
Important Safety Tips
- Always ventilate the area when using peroxide, vinegar, bleach, or commercial cleaners.
- Wear gloves and avoid contact with eyes or skin.
- Keep children and pets away during cleaning and drying.
- Never mix bleach with vinegar or ammonia — this creates toxic fumes.
- Test cleaners on a small, hidden area first.
Expert Insider Tip
Professionals know that grout doesn’t get clean from force—it gets clean from reaction. By choosing the right mixture for the job, you let the solution break down buildup at a molecular level so wiping it away becomes effortless. And should you encounter stubborn, older stains, you now have the same escalation path the pros use. Seal the grout afterward, and you’ll maintain that fresh, uniform look far longer than with routine cleaning alone.


Using natural products like vinegar and baking soda is not only cost-effective but also safe for both ceramic and porcelain tiles, without damaging their shine or color.
Ever since I switched to vinegar and baking soda for my tile floor cleaning, not only has it been cost-effective but also better for my respiratory health. And just as Reagan remarked, neither the shine nor color of the tiles was compromised!